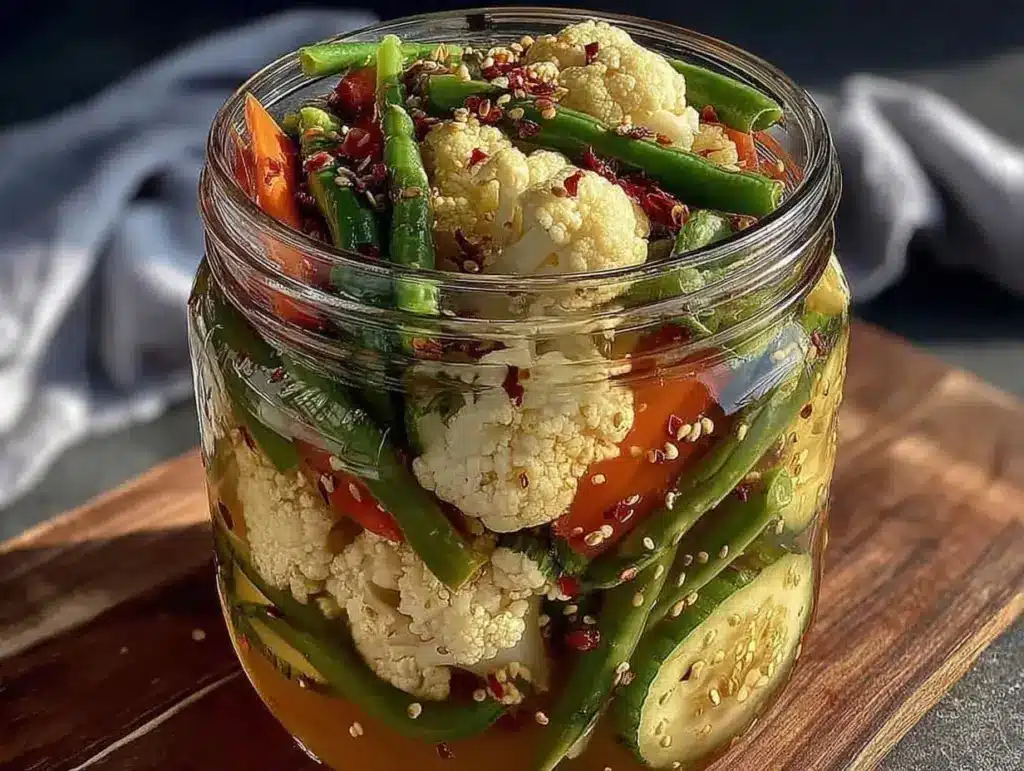
The crisp snap of fresh pickled vegetables that you make yourself at home? Honestly, nothing beats it. I still remember the first time I tried this easy refrigerator pickled vegetables recipe — it was a rainy afternoon, and I wanted something tangy and bright to perk up my lunch. The smell of vinegar, dill, and spices mingling with crunchy cucumbers and carrots instantly brought a burst of freshness to my kitchen. If you’re like me, craving that homemade zing without the fuss of traditional canning, this recipe is your new best friend.
I’ve made these refrigerator pickled vegetables countless times, tweaking the spice balance and veggie combo until it felt just right. The beauty is in how simple it is: no boiling water baths or pressure canners, just fresh ingredients, a quick mix, and a few days in the fridge for magic to happen. Whether you’re new to pickling or a seasoned pro, this recipe delivers every time with punchy, fresh flavor and satisfying crunch. Plus, it’s a fantastic way to use up whatever veggies you have lying around—perfect for busy folks who want a quick, healthy condiment or snack.
Refrigerator pickled vegetables are a fantastic way to add brightness to salads, sandwiches, or even tacos. This recipe is flexible, approachable, and a little reminder that homemade flavor can be easy and wonderfully fresh. So, if you’re ready for crisp, tangy, and downright addictive pickled veggies, let’s get started!
Why You’ll Love This Recipe
After making this easy refrigerator pickled vegetables recipe over and over, I’ve come to appreciate why it stands out from the crowd. Here’s what makes it so special:
- Quick & Easy: You can have these pickles ready to eat in as little as 24 hours, making them perfect for last-minute cravings or quick additions.
- Simple Ingredients: No need to hunt down anything exotic; the pantry staples and fresh veggies you already have work perfectly.
- Perfect for Any Occasion: Whether it’s a casual weeknight meal, a picnic, or a potluck, these pickled vegetables add a fresh, tangy kick everyone loves.
- Crowd-Pleaser: Kids and adults alike rave about the crunchy texture and bright flavor — plus, it’s a great way to sneak in extra veggies!
- Unbelievably Delicious: The balance of vinegar, sugar, and spices creates a flavor that’s fresh, sweet, and tangy — honestly, it’s hard to stop at just one bite.
What sets this recipe apart is the perfect balance of spices and the versatility of veggies you can choose. I like to blend classic dill and garlic with a touch of mustard seed and peppercorns for that signature tang. The quick refrigeration method means you don’t have to wait weeks for flavor to develop—it’s fresh and vibrant from the get-go. Plus, no jars to sterilize or cans to seal, making it super approachable for anyone who wants that homemade taste without the hassle.
Trust me, after the first bite, you’ll be hooked. It’s the kind of recipe that makes you appreciate simple ingredients done well, and it’s a little kitchen win that feels big every time.
What Ingredients You Will Need
This easy refrigerator pickled vegetables recipe uses straightforward ingredients that work together to create that perfect zing and crunch. You likely have most of these in your kitchen already:
- Vegetables for pickling:
- Cucumbers, sliced into spears or rounds (I prefer small, firm pickling cucumbers for best crunch)
- Carrots, peeled and cut into sticks (adds natural sweetness and color)
- Bell peppers, sliced (optional, for a pop of color and mild sweetness)
- Radishes, halved or quartered (gives a peppery bite)
- Green beans or asparagus, trimmed (great for seasonal variation)
- Pickling Brine:
- White vinegar or apple cider vinegar (5% acidity, about 1 cup / 240 ml) — this tang is the heart of the flavor
- Water (1 cup / 240 ml) — balances the acidity so it’s not overpowering
- Granulated sugar (1-2 tablespoons) — just a touch to mellow the sharpness
- Salt (1 tablespoon pickling or kosher salt) — for depth and to help preserve crunch
- Flavoring Spices and Herbs:
- Fresh dill sprigs (or 1 teaspoon dried dill seeds) — classic aroma and flavor
- Garlic cloves, smashed (2-3 cloves) — adds savory warmth
- Mustard seeds (1 teaspoon) — gives subtle heat and texture
- Black peppercorns (1 teaspoon) — for a gentle spiciness
- Red pepper flakes (optional, ¼ teaspoon) — if you like a little kick
For the best results, I recommend using fresh, firm vegetables without blemishes. I usually get my cucumbers and carrots from local farmers markets when possible—there’s something about fresh, crisp veggies that just can’t be beaten. If you’re short on time or ingredients, feel free to swap out any veggies with similar textures, like jicama or cauliflower florets.
Equipment Needed
- Glass jars with lids: Quart-sized Mason jars or any glass container with a tight-sealing lid work perfectly. I find Mason jars easiest to handle and clean.
- Measuring cups and spoons: For precise brine mixing — accuracy helps keep the flavors balanced.
- Sharp knife and cutting board: To prep your vegetables quickly and safely.
- Small saucepan: For heating the brine ingredients until sugar and salt dissolve. A non-reactive pan (stainless steel or enamel) is best to avoid any metallic taste.
- Mixing bowl: Handy for tossing the veggies with spices before packing into jars.
If you don’t have Mason jars, any clean glass container with a lid will do. Just avoid plastic containers, as the vinegar can sometimes react with plastic over time. I’ve also tried using wide-mouth jars, which make filling and cleaning way easier. Bonus tip: keep a jar brush handy for quick cleanup—trust me, it saves time!
Preparation Method
- Prepare your vegetables (10-15 minutes): Wash all veggies thoroughly. Peel and cut carrots into sticks about 3 inches (7.5 cm) long. Slice cucumbers into spears or rounds about ¼ inch (0.6 cm) thick. Trim and cut any other vegetables similarly to fit nicely into your jars.
- Mix the brine (5 minutes): In a small saucepan, combine 1 cup (240 ml) vinegar, 1 cup (240 ml) water, 1-2 tablespoons sugar, and 1 tablespoon pickling salt. Heat over medium heat, stirring until sugar and salt dissolve completely. Do not boil—just hot enough to dissolve solids. Remove from heat and let cool slightly.
- Pack jars with vegetables and spices (10 minutes): Into each clean jar, place fresh dill sprigs, 2-3 smashed garlic cloves, 1 teaspoon mustard seeds, 1 teaspoon peppercorns, and optional red pepper flakes (¼ teaspoon). Then pack your cut vegetables tightly but not crushed—leave about ½ inch (1.3 cm) space at the top.
- Pour brine over vegetables: Carefully ladle the warm brine into each jar, covering the vegetables completely. Leave a little headspace to avoid overflow when sealing.
- Seal and chill: Screw the lids on tightly. Let the jars cool to room temperature, then place them in the refrigerator.
- Wait for flavor to develop: Though you can enjoy these pickled vegetables after 24 hours, I recommend waiting 2-3 days for the best tang and crunch. The vegetables will stay fresh and crisp for up to 2 weeks in the fridge.
Pro tip: If you notice any cloudy brine or off smells, discard immediately—always pickling with clean jars and fresh ingredients is key to safety. Also, shaking the jar gently once a day helps distribute flavors evenly.
Cooking Tips & Techniques
When it comes to making easy refrigerator pickled vegetables, a few little tricks can make a big difference. For one, slicing the vegetables uniformly helps them pickle evenly — uneven pieces can result in some veggies being too soft while others remain too crunchy. I learned this the hard way on my first try!
Another tip is to use pickling or kosher salt instead of regular table salt. The fine grains in table salt contain additives that can cloud your brine or impart a bitter taste. I always keep a small container of pickling salt on hand just for this recipe.
Don’t rush the cooling process of the brine. Pouring scalding hot brine over veggies can cook them slightly, resulting in a mushier texture. Lukewarm brine preserves that satisfying snap you want from pickled vegetables.
Lastly, layering your spices at the bottom of the jar first creates a better infusion. I like to add garlic and dill right at the base so their aroma rises through the vegetables as they soak. It’s a small step but one that really amps up flavor.
Remember, the beauty of refrigerator pickles is how forgiving they are — feel free to experiment with spice blends or veggie combos. Just keep an eye on freshness and don’t leave jars unrefrigerated for long periods.
Variations & Adaptations
This recipe is like a blank canvas for your pickling creativity. Here are some variations I’ve tried and loved:
- Spicy Pickles: Add extra red pepper flakes or a sliced jalapeño to the jar for a fiery kick. Perfect if you like your pickles with some heat.
- Sweet & Tangy: Swap half the white vinegar for apple cider vinegar and add an extra tablespoon of sugar. This gives a sweeter, milder profile that kids often prefer.
- Low-Sodium: Reduce the salt by half and add herbs like fresh thyme or rosemary for flavor without the extra sodium.
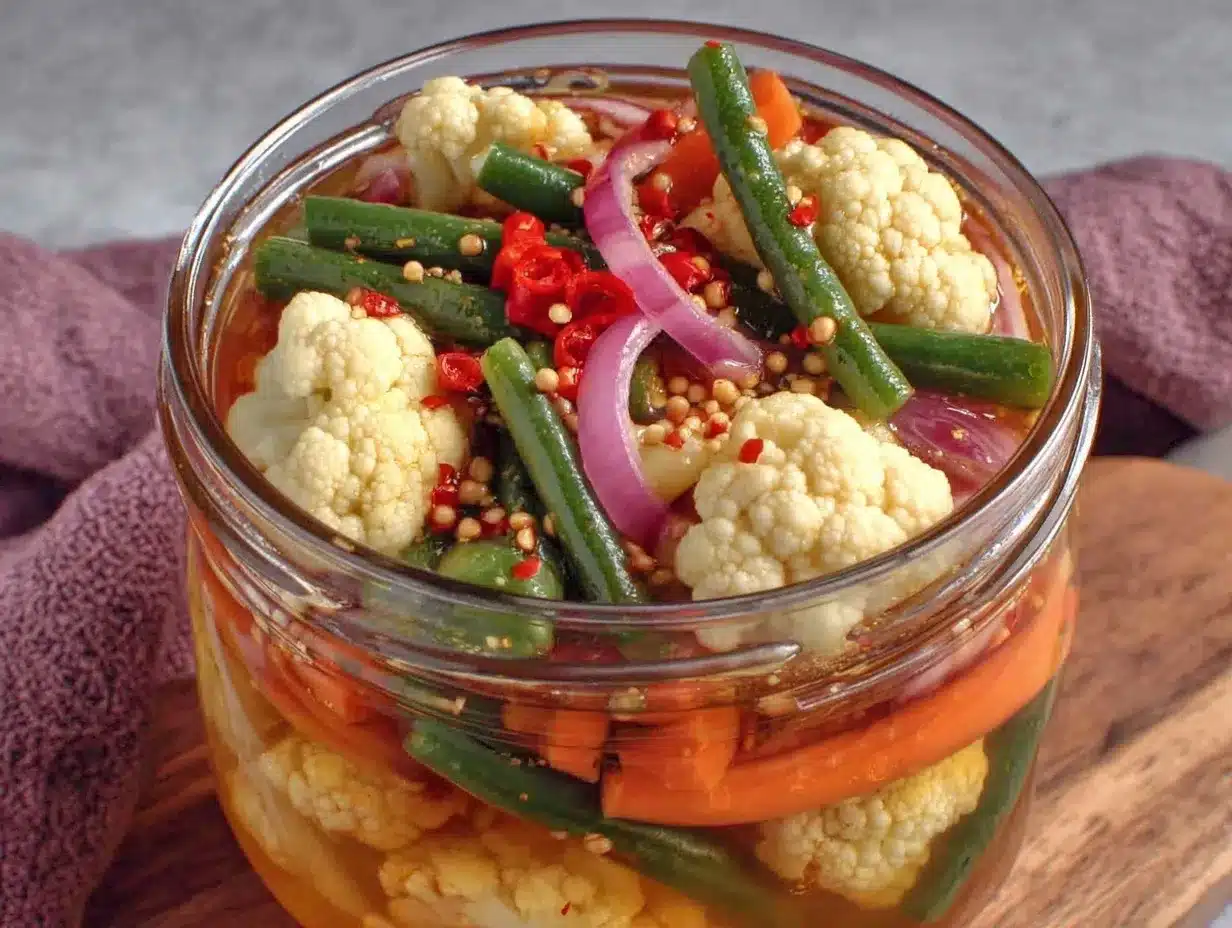
- Seasonal Veggies: Try adding cauliflower florets, cherry tomatoes, or even thinly sliced fennel for unique twists through the year.
I once made a batch using a splash of rice vinegar and ginger slices, which added a subtle Asian flair—such a fun change from the usual dill-based pickles! Feel free to swap out any spices or herbs based on what you love or have on hand.
Serving & Storage Suggestions
Serve your refrigerator pickled vegetables chilled straight from the jar, or spoon them over salads, grain bowls, or sandwiches for a bright, crunchy pop. They’re perfect alongside grilled meats or roasted veggies, adding a touch of acidity that balances richer flavors.
Store pickled vegetables in the refrigerator for up to 2 weeks. Over time, the flavors deepen and the veggies soften slightly, but they remain delicious. If you want to keep them crunchier, eat them within the first week.
When reheating dishes that include pickled veggies, add them fresh at the end rather than cooking with them to keep their crisp texture. If you’re packing lunches, a small jar of these pickles makes a fantastic side that keeps well and wakes up your taste buds.
Nutritional Information & Benefits
This easy refrigerator pickled vegetables recipe is low in calories and fat while packing a punch of flavor. A typical serving (about ½ cup or 120 grams) contains approximately:
| Nutrient | Amount |
|---|---|
| Calories | 25-40 kcal |
| Carbohydrates | 5-7 grams |
| Fiber | 1-2 grams |
| Sodium | 400-600 mg (varies by salt amount) |
Pickled vegetables offer probiotics if fermented naturally, though this quick vinegar method mainly provides gut-friendly veggies plus antioxidants from fresh garlic and spices. They’re gluten-free, vegan, and a smart way to add more veggies to your diet hassle-free.
Just a heads up for those with sodium restrictions: you can adjust salt levels or rinse veggies before eating to reduce saltiness. Overall, these pickles are a refreshing, flavorful addition to a balanced diet.
Conclusion
This easy refrigerator pickled vegetables recipe is a kitchen staple you’ll come back to again and again. It’s quick, requires minimal ingredients, and delivers that fresh, tangy crunch that livens up any meal. I love how adaptable it is—you can customize the veggies and spices based on what’s fresh or what mood you’re in.
Trust me, once you make your own pickled veggies at home, store-bought jars just won’t compare. It’s a simple way to add brightness to your dishes and a little homemade love to your fridge. Give it a try, tweak the flavors to your liking, and share your favorite combos—I’d love to hear how you make it your own!
Go ahead, grab those veggies, and start pickling. Your taste buds will thank you.
FAQs About Easy Refrigerator Pickled Vegetables
How long do refrigerator pickled vegetables last?
They typically keep well in the fridge for up to 2 weeks. For best crunch and flavor, enjoy within the first week.
Can I use any vinegar for pickling?
White vinegar or apple cider vinegar with 5% acidity is best. Avoid flavored or malt vinegars, as they can alter the taste unexpectedly.
Do I need to boil the vegetables before pickling?
Nope! This quick refrigerator method uses raw veggies, which keeps them crisp and fresh.
Can I make this recipe with only one type of vegetable?
Absolutely. Pickling cucumbers or carrots alone works great, though mixing veggies adds more flavor and texture variety.
Is this recipe suitable for canning and long-term storage?
This recipe is designed for refrigerator pickling only and should not be canned for shelf storage. For long-term preservation, use a proper canning method.
Pin This Recipe!
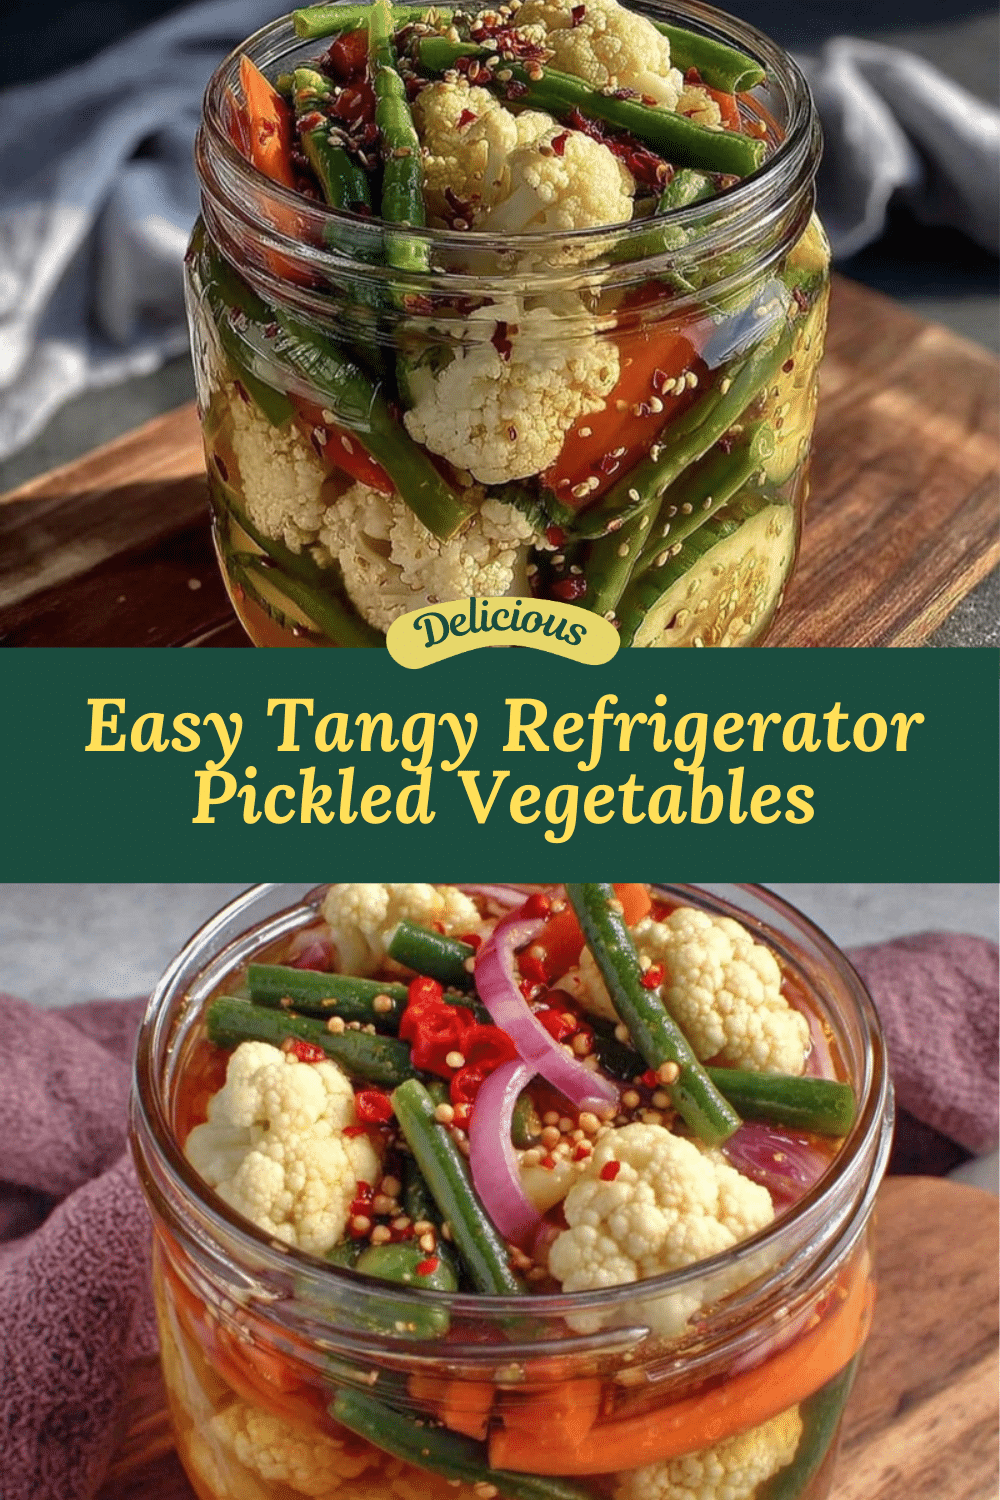

Easy Refrigerator Pickled Vegetables Recipe for Perfect Homemade Flavor
- Total Time: 20 minutes plus 24-72 hours refrigeration
- Yield: 4 servings 1x
Description
A quick and easy refrigerator pickled vegetables recipe that delivers fresh, tangy, and crunchy homemade flavor without the fuss of traditional canning.
Ingredients
- Cucumbers, sliced into spears or rounds (preferably small, firm pickling cucumbers)
- Carrots, peeled and cut into sticks
- Bell peppers, sliced (optional)
- Radishes, halved or quartered
- Green beans or asparagus, trimmed
- 1 cup (240 ml) white vinegar or apple cider vinegar (5% acidity)
- 1 cup (240 ml) water
- 1–2 tablespoons granulated sugar
- 1 tablespoon pickling or kosher salt
- Fresh dill sprigs or 1 teaspoon dried dill seeds
- 2–3 garlic cloves, smashed
- 1 teaspoon mustard seeds
- 1 teaspoon black peppercorns
- ¼ teaspoon red pepper flakes (optional)
Instructions
- Wash all vegetables thoroughly. Peel and cut carrots into sticks about 3 inches long. Slice cucumbers into spears or rounds about ¼ inch thick. Trim and cut other vegetables similarly to fit into jars.
- In a small saucepan, combine vinegar, water, sugar, and salt. Heat over medium heat, stirring until sugar and salt dissolve completely. Do not boil. Remove from heat and let cool slightly.
- Place fresh dill sprigs, smashed garlic cloves, mustard seeds, peppercorns, and optional red pepper flakes into each clean glass jar.
- Pack cut vegetables tightly but not crushed into jars, leaving about ½ inch space at the top.
- Pour the warm brine over the vegetables, covering them completely and leaving a little headspace.
- Seal jars tightly with lids. Let cool to room temperature, then refrigerate.
- Wait at least 24 hours before eating, preferably 2-3 days for best flavor and crunch. Store in refrigerator up to 2 weeks.
Notes
Use pickling or kosher salt instead of table salt to avoid cloudy brine or bitter taste. Pour lukewarm brine over vegetables to preserve crunch. Layer spices at the bottom of the jar first for better flavor infusion. Shake jars gently once a day to distribute flavors evenly. Store pickles in the fridge up to 2 weeks; best eaten within the first week for crunch.
- Prep Time: 15 minutes
- Cook Time: 5 minutes
- Category: Condiment
- Cuisine: American
Nutrition
- Serving Size: About ½ cup (120 gra
- Calories: 2540
- Sugar: 12
- Sodium: 400600
- Carbohydrates: 57
- Fiber: 12
- Protein: 1
Keywords: refrigerator pickles, pickled vegetables, easy pickles, quick pickling, homemade pickles, crunchy pickles, dill pickles, healthy snack